Angular Advanced Components

Angular Advanced Components
Angular Advanced Components
Hello everyone,
Today, I will talk about two decorators in Angular that make our work easier: ViewChild and ViewChildren decorators.
ViewChild and ViewChildren decorators in Angular are special decorators used to access elements within a component.
Let’s dive into the explanation.
ViewChild
is a decorator that allows representing objects in the DOM within the component class. I understand that it might seem a bit tedious when discussed in theory, so let’s move on to some practical examples.
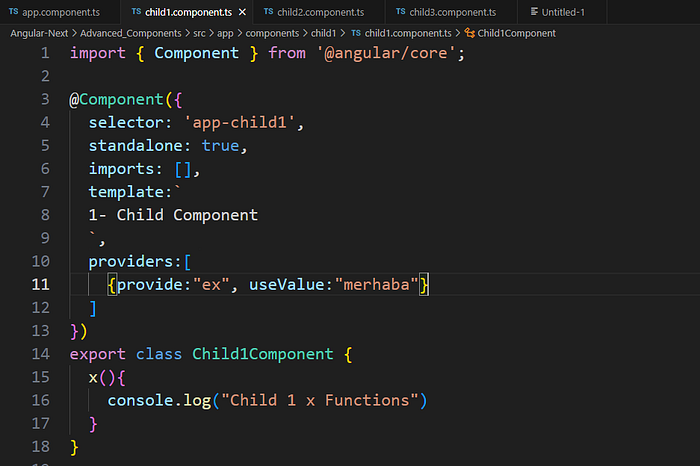
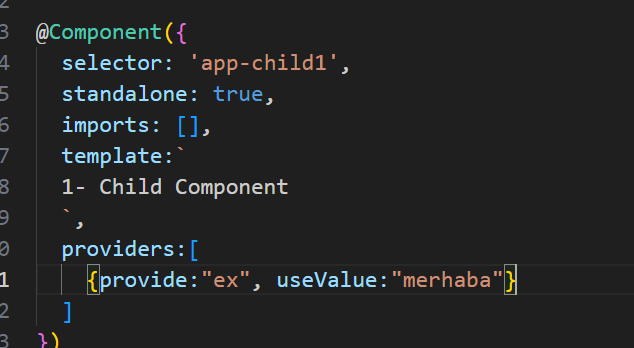
I created a simple component and named it Child1Component. By default, the selector is assigned the value ‘app-child1’. This value allows us to call this component in our main component’s HTML using HTML tags.
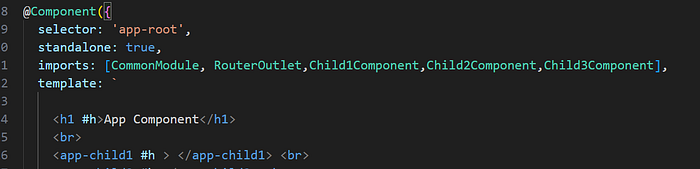
Then in main component(app) we are calling the component1 and import it. <app-child2 #h></app-child2> <br> like this.
Here, as you can see, we are marking our DOM object with the ‘h’ value. This way, we are getting closer to our main component.
What now?
Our intention was to intervene with our decorators on this marked DOM object, right? Yes, now we are moving on to do just that.

With the ViewChild decorator, we can intervene in DOM objects marked with the desired value under our main component. Since it is marked with the type ElementRef, we capture the DOM object in the ‘h’ value in this way.
So far so good, right?
In the example below, you see another example, but don’t worry because it does exactly the same thing. However, this time, we are accessing this DOM object through the component. Again, in the same way, we capture this value with both child1Component and Child1Component types.
![]()
Now, if you are wondering what that ‘static’ thing means, let me explain it briefly.
static: true indicates that these DOM objects (components) with this value need to be created when the program starts running. If you're wondering what I mean, let's illustrate with an example.
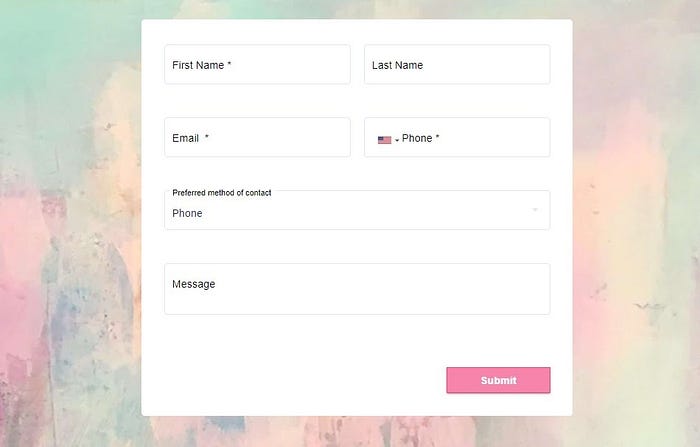
Imagine a form process on an internet site. Loading the form for a user who does not intend to perform that form operation increases the cost and can provide a slower experience for the user. Therefore, for the DOM objects that need to be set up when the site opens, we return the value ‘true’ next to them. However, for a form process like in the example, it would be more logical to return the value ‘false’.

Now that we’ve understood this, let’s continue…
If you’re wondering how else we can perform operations on the DOM with decorators, let me tell you about a property. In a more advanced approach, we achieve access to components through providers given within the components. This allows us to access the data specified in the provider.
It’s called read. With this property, as shown below, we can perform the necessary operations on the DOM object accessed through the component's provider.
Child1Component

4.ViewChild is an example of read prop
So we got this too! Where is the manipulation goes ??
Once we capture them in this way, we perform the necessary operations on these objects within our component. This is typically done through two special functions: ngOnInit() and ngAfterViewInit().
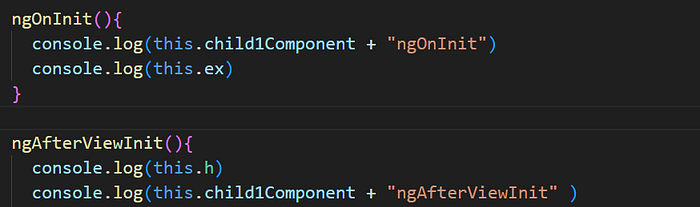
Here, I simply logged them to the console, but you can perform any necessary operations on these objects within your component based on your needs.
Now, I have another question for you: Why aren’t all of these in one function? What is the difference between these functions?
Let me explain this briefly for you. Think about it in the context of a form process:
The ngOnInit function is called when the program starts running, and it's used to invoke the initial processes that need to be done at the beginning.
On the other hand, you can think of ngAfterViewInit as a function to be called when the form is needed. Based on this, we can say that decorators marked with 'false' cannot be invoked with the ngOnInit function.
ViewChildren
is used to access all elements of a specific type within a component. In other words, it is used when you want to access multiple child components within a component.
After explaining these concepts, I believe you have a good understanding of what’s going on. :D Let me provide an example to ensure you have a clear picture, and it won’t be a problem for you anymore.
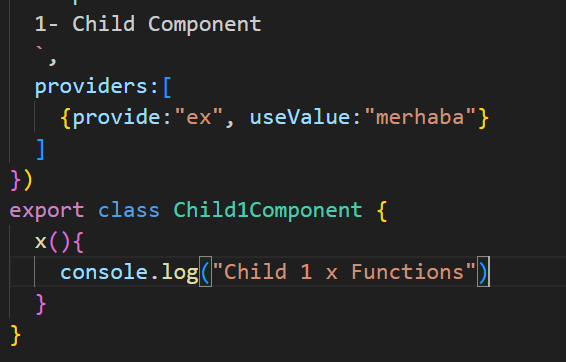
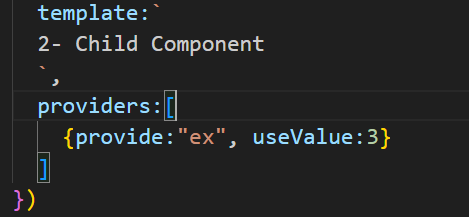
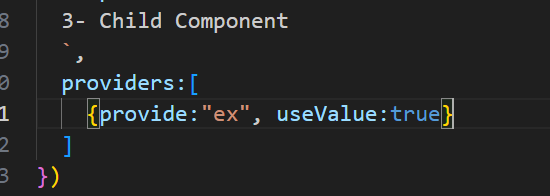
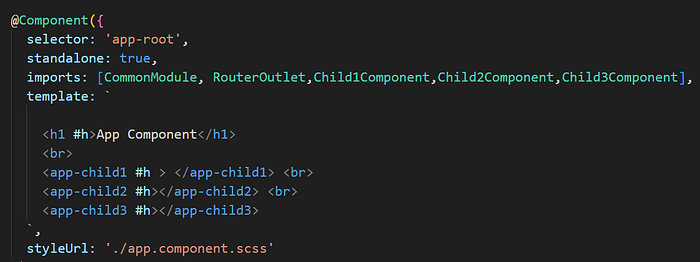
Let’s assume we have three components, as I created below. All three have the same provider, but with different values. How can we handle this? Let me illustrate immediately.
Then we have to import all of the components that we use. All of them has an same “h” tag as you can see below.
As you can see in the 5th example, we used @ViewChildren to capture all elements with the same ‘h’ value. Then, we read the values inside these components using the ‘read’ property and store them in the ‘_list’ variable. As shown, we captured all the values with a QueryList, specifying their data types. And that’s it! Now, you can manipulate them as much as you want. :)

In conclusion, we explored the powerful decorators @ViewChild and @ViewChildren in Angular, which allow us to interact with and manipulate elements within components. We delved into practical examples, understanding how to use these decorators to access DOM elements and perform operations based on specific scenarios. Additionally, we touched upon the ‘read’ property for advanced manipulation through component providers.